Fixing the i3v 3D printer inside of a box
240 minutesBackground
Last summer my son and I put together the MakerFarm i3v 3D printer. We assembled the printer on the dining room table and the first few test prints were done there as well. Eventually the printer was evicted from that location into its new home in the garage. For the next six months it sat in the garage under a large yellow Ikea bag to protect it from being covered in saw dust like everything else in the garage. Over the last few weeks I finally decided to make the printer usable again by putting it inside of a wooden enclosure made out of 1/2 inch plywood. The printer rests inside of the box, but it is not mounted to the box therefore it can slide around when moving the enclosure from location to location.
Interference Fit Printer Holder
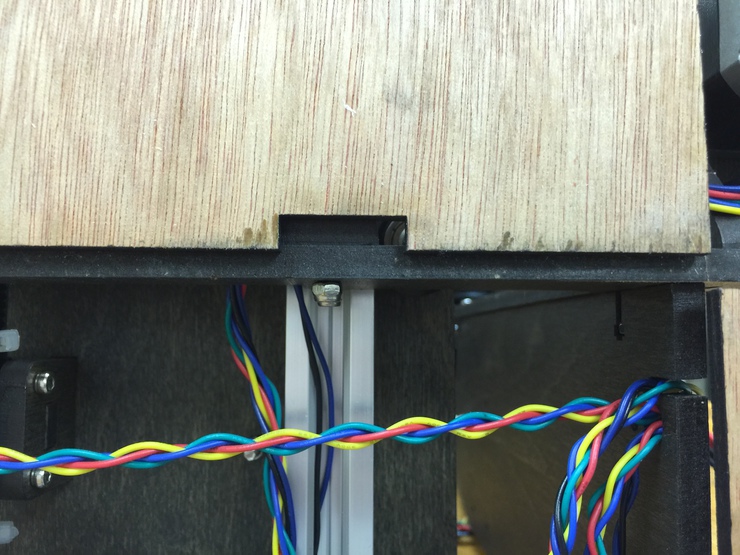
Instead of 3D printing mounting brackets and screwing those into the base plywood of the box I decided to cut slots into a piece of 1/8” plywood that would have an interference fit with both the enclosure as well as the 3d printer. This will allow me to easily remove the printer or the fixture without unscrewing anything.
Making the 3D Printer Mask
- Create a mask of bottom of the 3D printer. I first took careful measurements of the bottom of the printer with a a ruler and a pair of digital calipers. [missing image of my drawing]
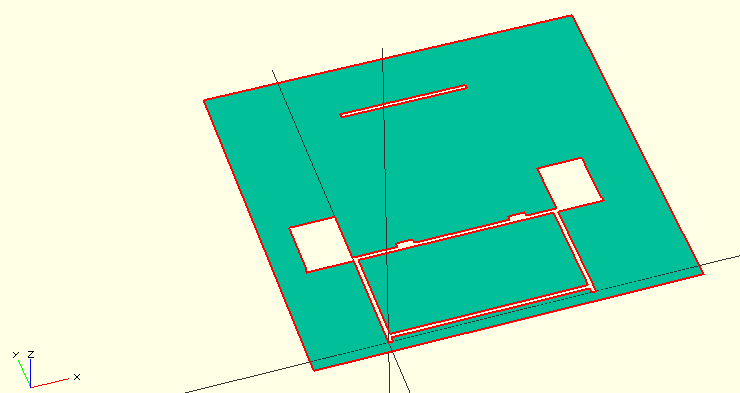
- Model the bottom using OpenSCAD. After taking the measurements I modeled the part in OpenSCAD using the back left corner as the origin of the machine.
wood_thickness=6;
base_width=257;
stepper_width=60;
mid_width=2*stepper_width+2*wood_thickness+259;
top_width=170;
side_length=143;
rail_width=22;
offset_to_rail=wood_thickness+54;

module stepper(){
  square([stepper_width, 80-wood_thickness]);
}
//...
3. Export OpenSCAD drawing to dxf file.
4. Import DXF file into InkScape and then immediately save the drawing back as a DXF file. This step is necessary because the program that is used on the laser cutter at Quelab doesn’t open dxf files created by OpenSCAD.
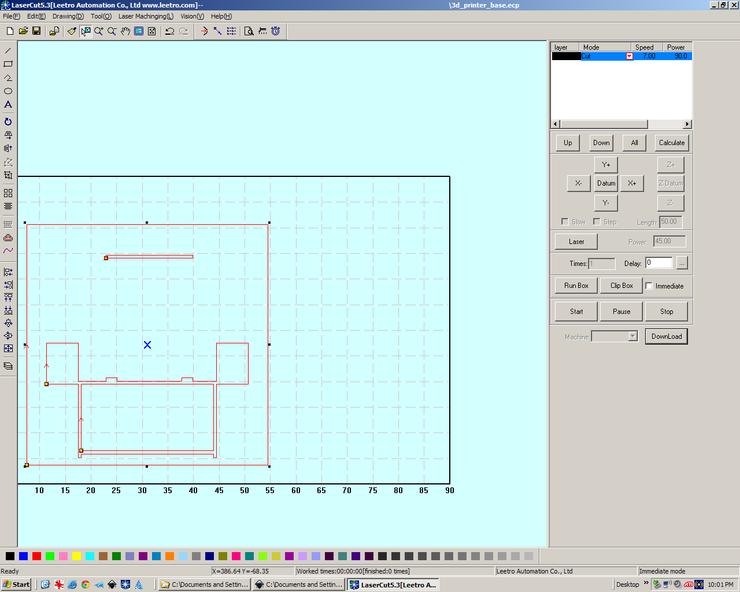
5. Import dxf file into LaserCut.
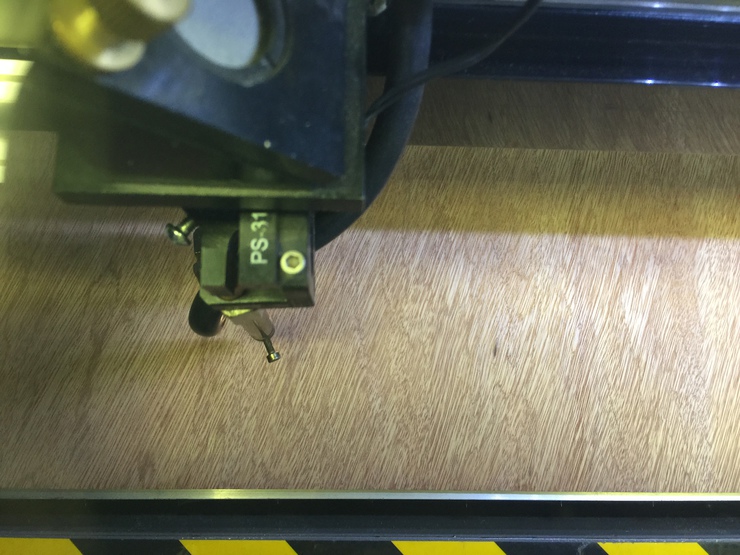
 6. Cut the plywood/cardboard with the laser
 7. Test the fit against the actual 3D printer base.
 8. Repeat steps taking into account the measurement differences of the actual printer vs the cut base.
Lessons Learned
There are a few things that went wrong during my attempt to make the 3D printer base. At the end of this posting I’ve cut two sheets or cardboard and one sheet of plywood and I’m still not happy with how things have turned out. The last cut for the plywood ended up exactly like the previous cut of cardboard. Somewhere along the way of transferring the files from my computer to the laser engraver computer I mistakenly copied the wrong dxf file or possibly something else went wrong. I’ll spend some time investigating what went wrong and possible ways to improve my process in future posts.